In the following, I'll try to write it as short and present it as simple as possible for the easiest reading and also to save my own time! ;-)
Disclaimer: Before going on, you should read and know that you do anything at your own risk. You are the one who knows well what you are doing and great care must be taken for each step of the "surgery", no matter how simple it would be! Do note that the surgery is non-destructive and do no harm to your lens, provided that you don't damage the lens yourself carelessly and don't drop/lose any component of the lens throughout the course!
Hints: Find a clean desktop and environment as the working bench. Put a larger white paper on the "workbench" so that anything on it can be clearly seen, even just in case anything is accidentially dropped. Find a bright white light source, e.g. a desk lamp with white fluorescent light, so that you can see clearly all the things on the paper.
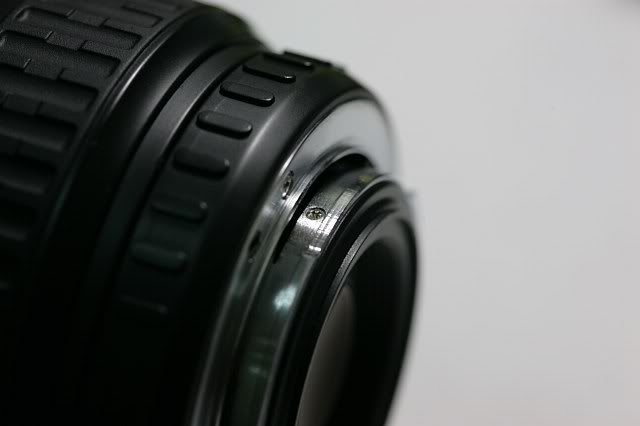
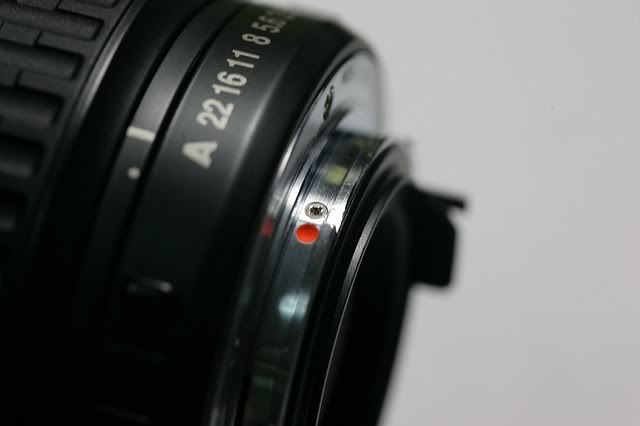
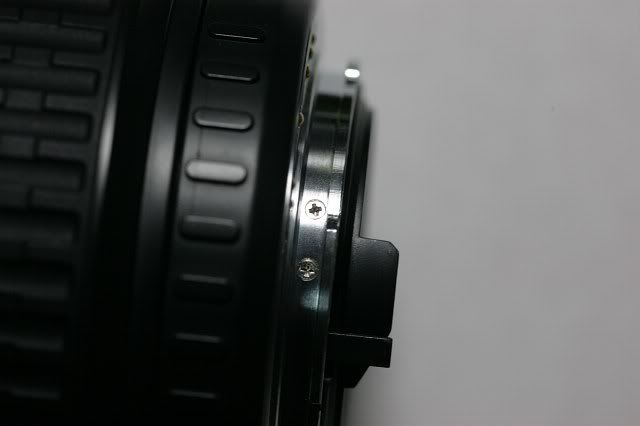
To do the (hardware) adjustment, first you need to open the rear side of the lens, there are three screws to unscrew around the lens mount:-
The First One:- (NOT the one ON the Mount but AROUND the Mount)
The Second One:- (The One in Adjacent to the Orange Spot)
The Third One:- (The One at the Top as shown in the Picture Below)
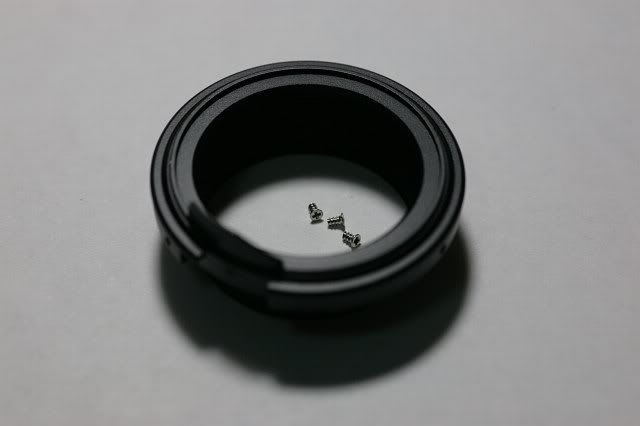
Next, you can detach the protective plastic ring of the lens rear:-
Then, look inside the lens, you can see the mechanical aperture coupler, which has two screws to fix it:-
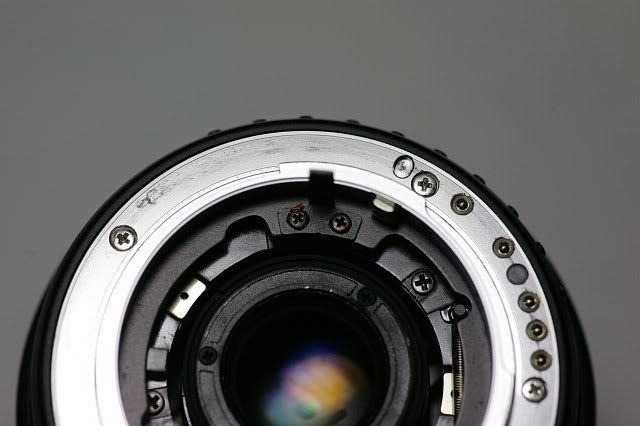
There are some red glue on the screw heads, just feel free to unscrew the screws as the glue will be taken off very easily.
Well, look at the above diagram, you should note that the opening of the lens coupler base is not exactly a circle which should ideally/theoretically at the same size as the diameter of the screws (i.e., just a little bit larger). Instead, these are intentionally made with more rooms left at both sides..
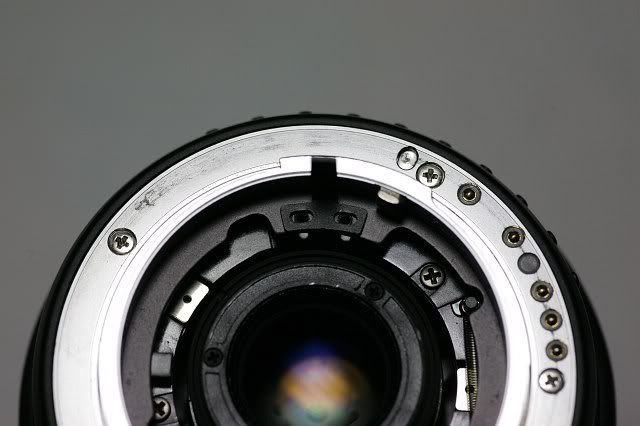
Now, the "trick" is here. In fact, you can easily fix the screw anywhere as you like, along the "track". For example:-
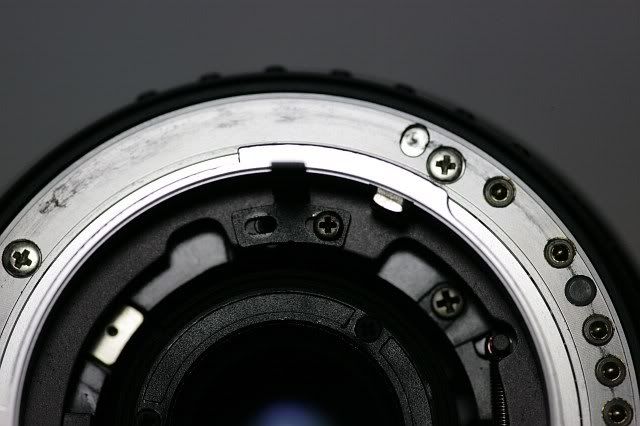
Above: Aperture coupler "pushed" to the extreme Left, such that it is pushed to the Left where the Aperture Coupler is Fixed. (Oppositely, the Screws are at the Extreme Right.) See Below:-
The testing exposure result at this position is as below, shot at 1/30, F4 at ISO 800, at 29mm, as below:-
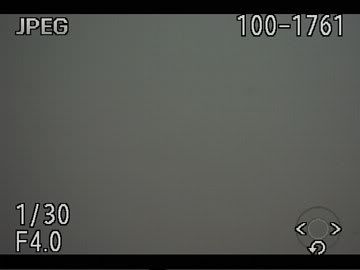
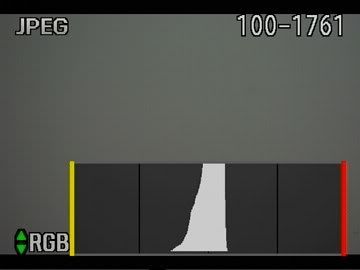
Note that the Histogram is Centred..
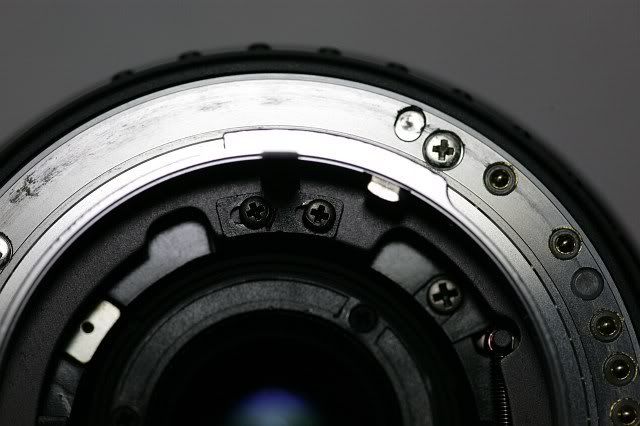
Then, I moved the aperture coupler to the extreme Right (Or, the Screws are at the Extreme Left now)..
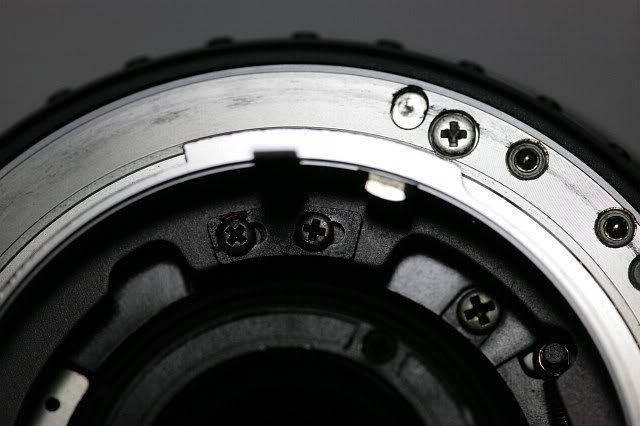
Here is the exposure result, at the "same" F4, 1/30th second, at 29mm at ISO 800:-
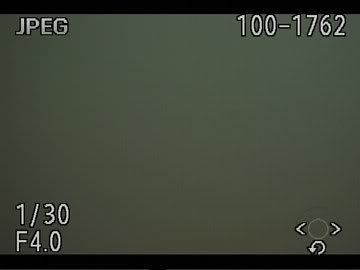
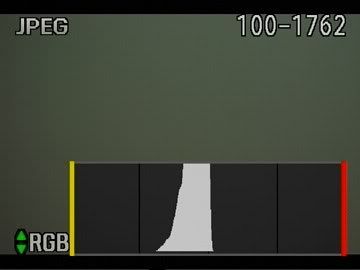
Do note that the Histogram is Now Shifted to the Left, that is, Underexposed!
Well, how much exposure change then? I intentionally apply a +1/3EV more exposure "compensation" to the shutter speed and I got the following:
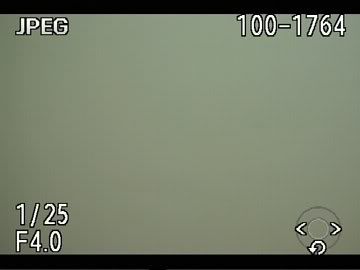
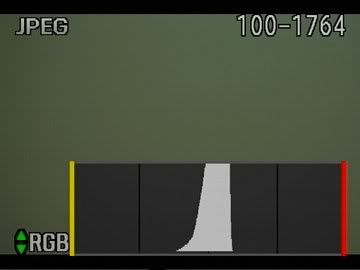
As expected, the Histogram is more or less Centered now. So, the exposure difference for the two extreme hardware adjustment and calibration is 1/3EV.
From my experiences, do note that each lens behaves a bit differently and you have to calibrate one by one with a good lens that you are satisfied with the exposure and found to be "accurate" as the Prime Reference and Calibration Basis.
One other thing to note is that: After the adjustment, the maximum aperture may be affected or not - well, you can observe the aperture opening/blades' position just in case if you can yet see a little portion of them even when the lens is pushed wide opened at the "A" position. But from my experience, this is neglectible at the largest aperture as the area is large(st) when the lens is wide opened (for wide-opened metering). In contrast, when the lens starts to be stopped down, the *actual* f-value change and difference can be significant.
So, one would wonder if how this 1/3 EV exposure difference (sometime can be 1/2 or more, depending on each specific lens) could affect proper exposure? Just don't ask me! For those who knows, who knew! (And if you disagree, please just don't try to argue with me!)
To me, the exposure consistency plus accuracy is of prime importance, when I changed one lens from another. So, this adjustment is of prime importance to me. I am glad that I discovered this and now I can make the exposure accuracy of my original Pentax lenses to be better, and most importantly, more consistent! (I am also very glad and feel proud of that I can share my this finding with all you here, at my Blog!)
Frankly speaking, my EOS lenses suffer from the same exposure errors by the EF lens itself. Different EF lens of mine was found to be have an error of +/-1/3EV (I have six EF lenses right now, 3 L zooms and 3 EF Primes), which I compensate the in-born error by exposure compensation each time I mount a different EF lens on my EOS body.
I just wonder when camera manufacturers are now all implementing an Focus Adjustment "feature" on all high end DSLR models of them. Why not just implement also an "Exposure Adjustment" for each specific lens, when it is required (and must be required, IMO), in addition to the Focus Adjustment? In fact, this feature is also much and very useful. Practically, the lens and camera makers just couldn't make each of their lenses produced with absolute exposure accuracy and consistency. So, Why Not?
Anyway, as for my Pentax lenses, I can DIY, hardware wise, which is actually even better! =Victory=
As a Final Reminder Once Again: Do Anything At Your Own Risk IF YOU are tempted to risk and take any potential risk! :-D
Blog Trailer for Next Technical Article: Dust Cleaning Methods/Solutions for Pentax DSLRs Compared (My Personal Experiences and Techniques to be Shared)