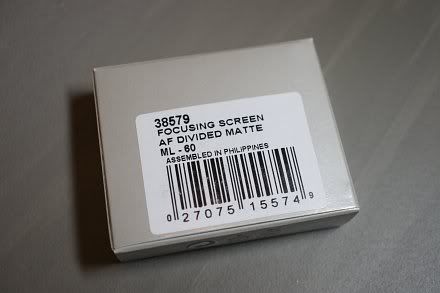

Together with the instruction sheet, there is also a notice for the change of company name from Hoya to Pentax Ricoh, in Japanese, English and French:-

The screen is replaceable by the user, but it is not completely straight-forward and safe from risk, because the screen is quite vulnerable and could be easily got scratched. Do first read clearly the official instructions and use *only* the dual-head tweezers that is provided. However, I don't think the instructions provided by Pentax are clear and detailed enough. So, in this article, I would like to share my own experience and tell more of my tips for the useful techniques of mine and additional cautions that are to be taken.
The ML-60 instruction cannot be found and downloaded from any Pentax website AFAIK, the closest one in contents and yet is downloadable from the Internet would be the one of the (P)Z-1p, available here.
Here is the full instruction of mine, which should including the basic instructions provided by Pentax:-
0. Prerequisite: Do the job at a clean and dry place! And under bright light source!
1. Turn off the camera;
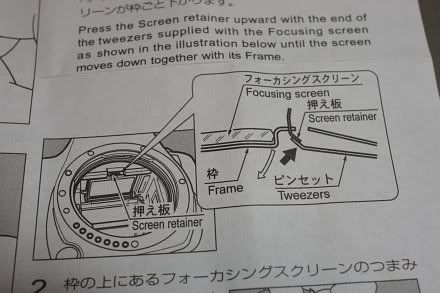
2. Remove the lens and locate the focusing screen holding frame retainer which is a lock at the top middle:-
3. Incline the camera at 45 degrees (e.g., held by the left hand) such that it is not rested completely with the bottom nor rest with the rear screen, but somewhere in-between! (Will explain below for why this is crucial and recommended!)
4. Use the curved long end of the tweezers to "hook" the lock of the retainer upwards to the mount and the focusing screen holder will come off. The focusing screen, with its holder, are actually coming off together by *gravity*:-
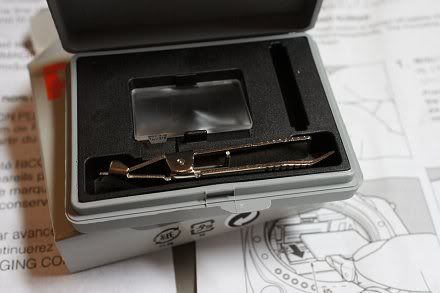
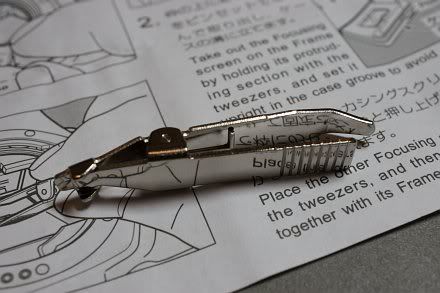
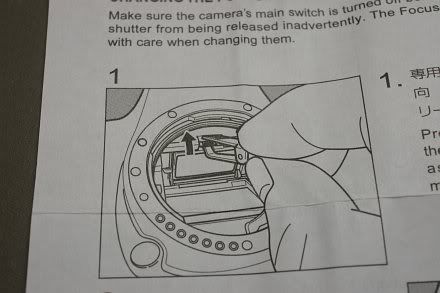
Now, let me explain, if the camera is rested on its bottom, the gravity force may be too large such that it comes off too fast and suddenly and the screen may jump off accidentally so it might be scratched! :-o On the other hand, if the camera is put with the LCD rested on the table, the focusing screen and holder may not come off as the gravity force cannot be applied effectively in that direction! So, a 45-degree inclination is recommended! And this has never been told by Pentax in any of their official documentations provided to the end-users, camera model regardless! :-(
Now that reminds me of Canon's design of the tweezers which is just safer and clever as there is also a special protruding small part to hold securely the frame holder *at the same time* when the retainer is unlocked, whilst Pentax' design has none! :-o
5. Swap the tweezers in opposite direction and use the other flat and shorter end with special shape to grip the protruding small part (where the focusing screen model number is printed) to pick the screen out of the box. My own tip is do remember to push the tweezers head until it completely holds the focusing screen with its bottom (which is like a flat spoon) and with both the left and right tips/hands of the tweezers head are in contact with the screen, like this:-
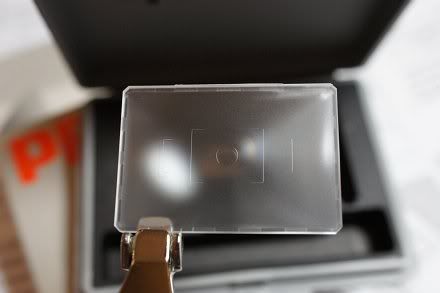
Push with small force as instructed above so that you can feel that everything is secured as it is designed. (But yet it is not clearly told!)
Don't apply too much force as the screen may be pushed off the holder frame and it would yet be scratched!
6. Pick out the screen with great care and put it into the transitional spare foam slot that is used for screen swapping;
7. Pick out the new replacement screen with the same technique for picking the screen as briefed in Step 5 above. Point it to a bright light source and inspect for dust:-
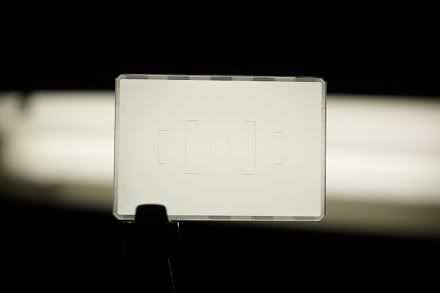
Use an air-blower to blow off any dust that is existent on the focusing screen surfaces as seen, especially for the upper inner surface which cannot be blown for any attached dust once the screen is installed and until it is uninstalled again- Pentax' instruction has never reminded the user to inspect and blow off the dust, although once again it may be sort of common sense, but still I think this essential reminder should be given;
8. After the "cleaning" has been done, carefully put the screen back onto the holder frame so that it should NOT be in touch with *anything* until it finally land and rest evenly and correctly within the frame holder;
9. Swap the tweezers' end again and use the curved long nose to push back the focusing screen holder until a click sound is heard. The screen is installed successfully!
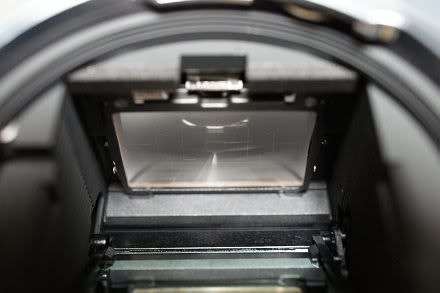
10. Point the camera to the light source, look from the mount (as above) and then look the viewfinder from different angles and do a final check if everything is okay! :-D
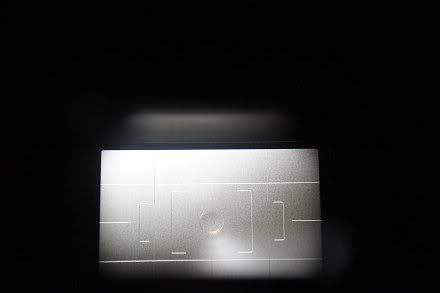
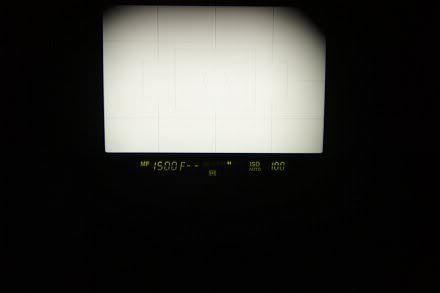
After all, this ML-60 screen is actually a very good piece of optional accessory and is very useful to help keeping proper levels for framing and picture composition and is highly recommended for every K-5/K-7 user! At least last time the Silver Limited edition of the K-5 is bundled with it. Highly recommended!
N.B. The focusing screens of the K-5/K-7 has more obvious matte which facilitate manual focusing and do have more accurate DoF than that of the lower grade Pentax penta-mirror DSLR models, for what I observed.
Read Also:-
When the Focusing Screen Lies (for Focusing and Metering)
When the Focusing Screen Lies - Part 2